
Creating a streaming studio does not require a huge budget, but it does require smart decisions about equipment, layout, and workflow. This guide walks through the core choices you need to make when setting up a professional-looking livestreaming space.
1. Core Decision: PC Streaming vs. Camera-Only Streaming
Before purchasing gear or rearranging your workspace, the first step is deciding how you will encode and broadcast your stream.
Option A: PC-Based Streaming
Best for:
- Gaming streams
- Multi-camera productions
- On-screen overlays and alerts
- Scene switching and advanced layouts
- Software such as OBS, Streamlabs, or vMix
Recommended system specs:
- CPU: Intel i5 / Ryzen 5 minimum
- Preferred: Intel i7 / Ryzen 7 or better
- RAM: 16 GB recommended for smooth encoding
- GPU: Optional but helpful for gaming streams or GPU encoding
A PC-based setup offers the most flexibility and control.
Option B: Camera-Only Streaming
Best for:
- Simple talking-head livestreams
- IRL streaming
- Mobile creators
- Minimal equipment setups
Typical requirements:
- A modern smartphone or camera with USB streaming support
- A clean HDMI output if using a mirrorless camera
- A capture card for HDMI sources
- A reliable internet connection
This setup is simpler and more portable but offers fewer production options.
2. Video: Choosing and Setting Up Your Camera
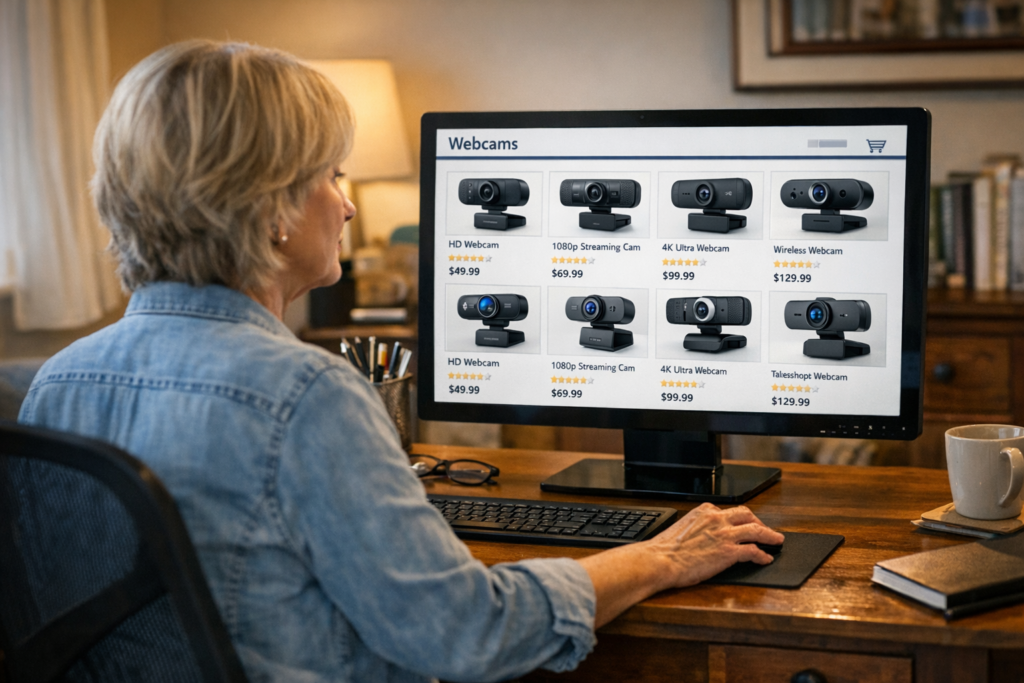
Webcams (Beginner-Friendly)
Modern webcams are surprisingly capable and very easy to use.
Look for these features:
- 1080p at 60 fps or 4K at 30 fps
- Fast autofocus
- AI auto-framing
- HDR support
- Strong low-light performance
Many modern 4K webcams also include:
- AI autofocus
- Noise-reducing microphones
- Gesture controls
- Automatic framing
Pros
- Plug-and-play setup
- No capture card required
- Affordable
Cons
- Smaller sensors produce a less cinematic image
Mirrorless Cameras (Professional Look)
Mirrorless cameras produce the most polished streaming image thanks to larger sensors and better lenses.
Important features to look for:
- Clean HDMI output
- Unlimited recording time
- USB streaming support
- Fast face and eye-tracking autofocus
Additional equipment needed:
- HDMI-to-USB capture card
- Dummy battery or AC power adapter
- Tripod or boom arm
Pros
- Excellent image quality
- Beautiful background blur (depth of field)
Cons
- Higher cost
- More setup complexity
3. Lighting: The Most Important Visual Upgrade
Lighting often has a greater impact on image quality than the camera itself.
Basic Three-Point Lighting Setup
A classic studio lighting setup includes three lights:
1. Key Light
Your primary light source illuminating your face.
2. Fill Light
A softer light used to reduce shadows created by the key light.
3. Back Light (Hair Light)
Placed behind you to separate you from the background and create depth.
Beginner Lighting Options
Affordable lighting solutions include:
- Ring lights
- Clamp lights
- LED panels
- Wall-mounted lights for small studios
Lighting Tips
- Place your key light at a 45-degree angle to your face
- Avoid harsh overhead lighting
- Use diffused light to soften shadows
- Keep the background slightly darker than your face to create visual depth
4. Audio: The Most Important Viewer Experience
Viewers will tolerate average video quality, but poor audio often causes them to leave immediately.
Investing in good sound is one of the most important upgrades you can make.
Microphone Options
1. Built-in Microphones or Earbuds (Entry Level)
- Convenient but limited sound quality
- Acceptable for quick or mobile streams
2. USB Microphones (Best for Beginners)
- Plug-and-play simplicity
- Affordable
- Excellent sound quality for streaming and podcasts
3. XLR Microphones (Professional Level)
- Require an audio interface or mixer
- Offer the best sound quality and control
- Ideal for professional streams and podcast studios
Useful Audio Accessories
- Pop filter – reduces plosive sounds (P and B bursts)
- Boom arm – keeps the microphone close while clearing desk space
- Shock mount – reduces vibrations from desk movement
Audio Tips
- Keep the microphone 6–10 inches from your mouth
- Speak across the mic, not directly into it
- Reduce room echo with rugs, curtains, foam panels, or bookshelves
- Monitor levels to avoid clipping or distortion
5. Streaming Software (PC Streaming)
If you are streaming from a computer, you will need broadcast software.
OBS Studio (Free and Powerful)
OBS Studio is the most widely used streaming software.
Typical configuration includes:
- Creating scenes
- Adding sources (camera, microphone, overlays)
- Audio filters such as compressors and noise suppression
- Entering your stream key from YouTube or Twitch
Streamlabs (Beginner Friendly)
Streamlabs builds on OBS with additional features:
- Stream templates
- Built-in alerts
- Cloud backup settings
Advanced Software
Professional streamers and studios may use:
- vMix
- Wirecast
These tools support advanced production features like multi-camera switching and live graphics.
6. Scene Design and On-Screen Elements
A well-designed stream includes multiple scenes and overlays.
Essential Scenes
Most streamers create scenes such as:
- Starting Soon
- Main Camera
- Gameplay + Camera
- BRB / Intermission
- Ending Screen
Overlays
Overlays add branding and interactivity:
- Viewer alerts
- Chat window
- Lower-third graphics
- Logos and branding elements
Background Design
Your background helps establish your visual identity.
Options include:
- Clean minimalist setups
- Shelves, decor, or posters
- RGB lighting accents
- Green screens for virtual backgrounds
7. Connectivity and Cabling
Internet Connection
A wired Ethernet connection is strongly recommended.
Minimum speeds:
- 6 Mbps upload for 1080p streaming
- 20 Mbps or higher preferred for stability and headroom
Cable Management
Clean cabling keeps your studio organized.
Helpful tools:
- Velcro cable ties
- Cable labels
- Cable trays or raceways
Also try to separate audio cables from power cables to reduce electrical interference.
8. Ergonomics and Studio Layout
A comfortable studio helps you stream longer and look more natural on camera.
Recommended setup:
- Camera positioned at eye level
- Sit 2–3 feet from the camera
- Key light slightly above eye level
- Use an ergonomic chair
- Keep your microphone close but just out of frame
9. Pre-Stream Checklist
Before going live, run through a quick checklist:
- Test microphone levels
- Confirm lighting looks good
- Verify camera focus and framing
- Close unnecessary apps
- Check internet connection stability
- Load the correct scenes in your streaming software
- Run a private test stream
10. Upgrade Path for Your Streaming Studio
Most creators improve their studio gradually.
Stage 1: Beginner
- Webcam
- USB microphone
- Ring light
- OBS Studio
Stage 2: Intermediate
- Mirrorless camera
- Capture card
- LED panel lighting
- XLR microphone with audio interface
Stage 3: Professional
- Multi-camera switching
- Dedicated audio mixer
- Full three-point lighting
- Stream deck controller
- Sound-treated recording room